Distance limit setup for eyes
February 24th, 2020
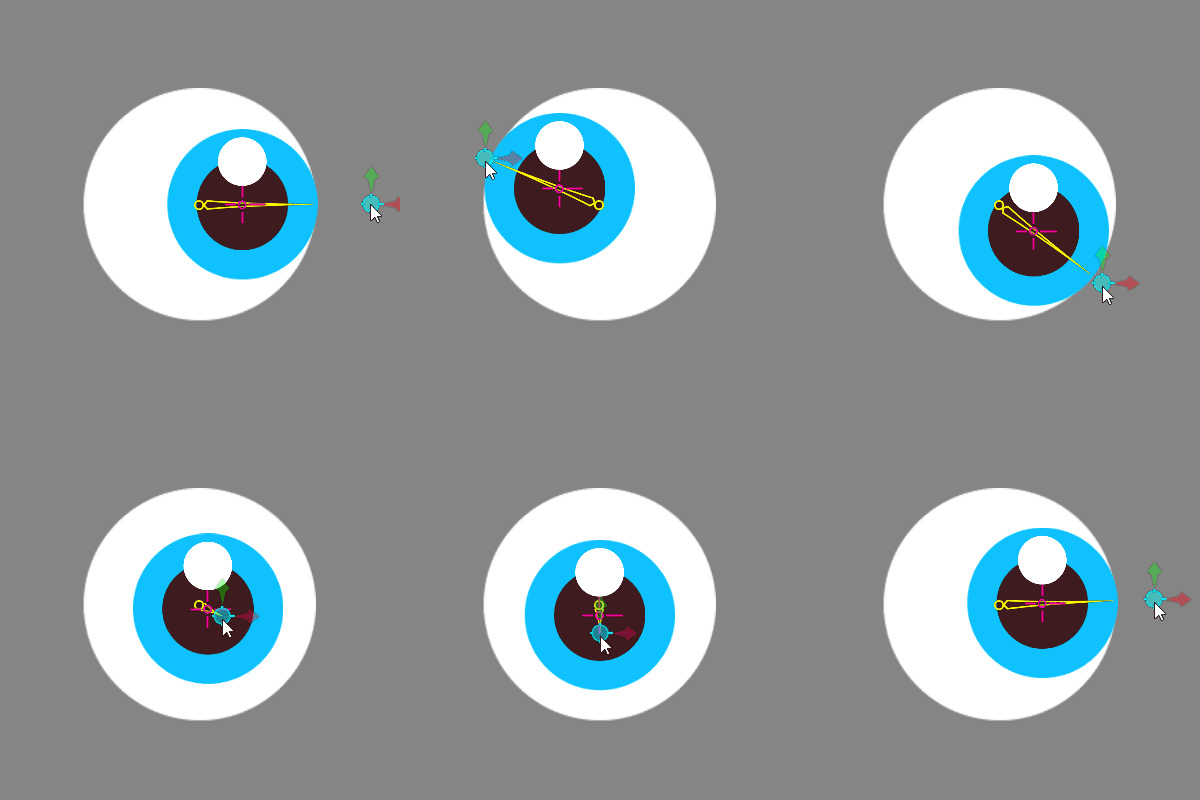
Flexible eye rigging can bring even more life to your characters. In this tutorial we'll create an eye rig that always looks at a target, without the iris and pupil going outside the bounds of the eyeball. This is the long form version of a tip we previously published. Let's go through it step by step!
Images setup
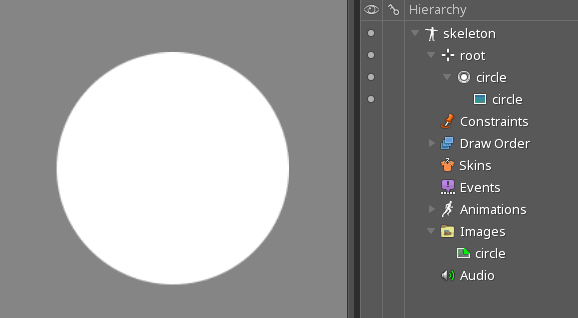
For the purpose of this tutorial, we'll keep things simple. The eyeball is made up of a white circle image located in our image path. We drag it from the images node into the viewport, then duplicate its slot.
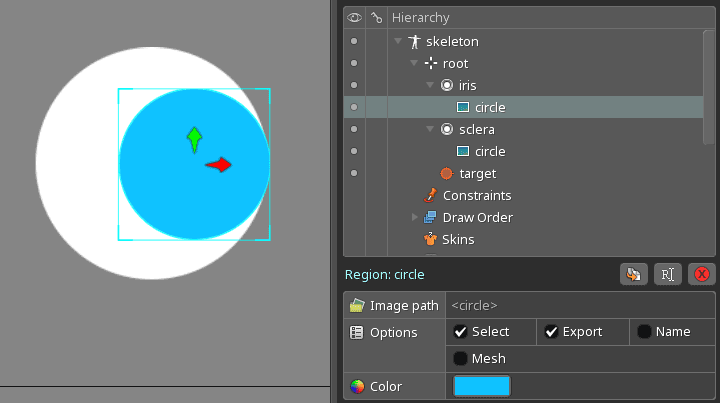
We'll turn this second circle into the iris of the eye. All we need to do is change the color of the attachment to an iris color we like. Images can be scaled and translated independently of bones in setup mode, so we'll scale the copy down to make it smaller in proportion to the eyeball. To establish the limit beyond which iris should not move, we also translate it so that it touches the border of the white circle beneath it.
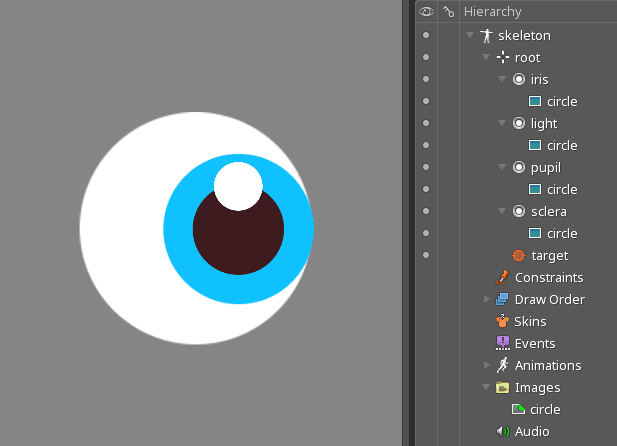
Next, we duplicate the iris slot to create the pupil. Pick a new color for the image attachment and scale down the attachment as before.
Lastly, let's also add a tiny reflection of light on the pupil. Duplicate the pupil slot, make it smaller, change its color to white and place it on top of the pupil.
Finally we are ready to start creating some bones!
Bones setup
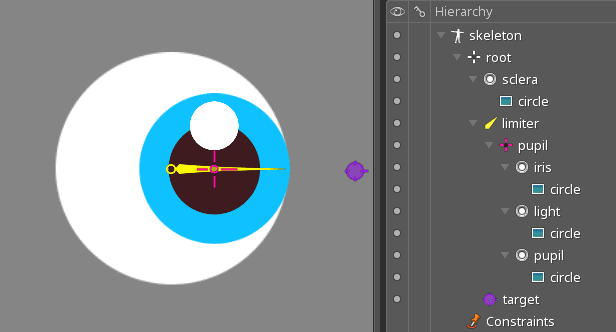
To get the desired effect, we need to create 3 bones. The limiter bone originates from the center of the eyeball and extends to its border. It's angled at 0° to make alignment easier later on.
The pupil bone is placed in the middle of the pupil, which also aligns with the midpoint of the limiter bone. All the images except the white eyeball are parented to this bone. The pupil bone itself is parented to the limiter bone.
Lastly, the target bone is placed along the axis the other two bones are placed at. It is parented to the root bone.
IK setup
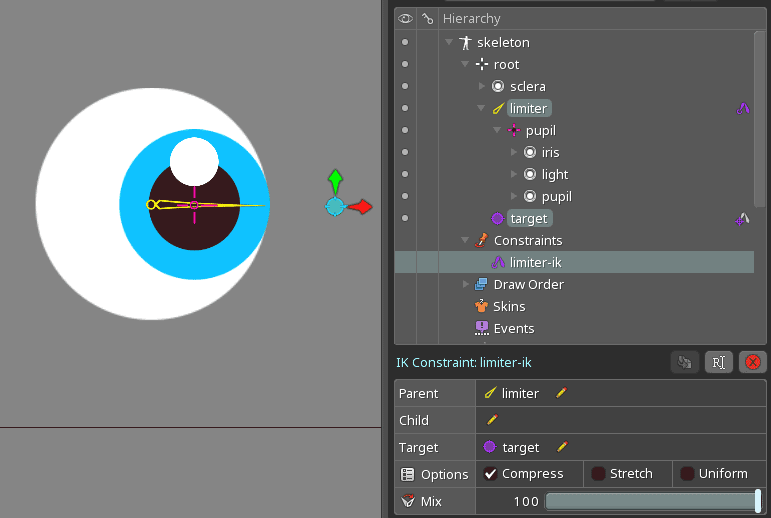
Time for the magic trick! As a first step, we create an IK constraint, with the limiter bone as its parent and the target bone as the target. This causes the limiter bone to always point at the target bone.
By enabling the IK compress option on the IK constraint, we allow the limiter bone to shrink and grow as the target bone comes closer to or gets farther away from it. This way, the iris and pupil can move freely within the eyeball instead of being constrained to the eyeball's border.
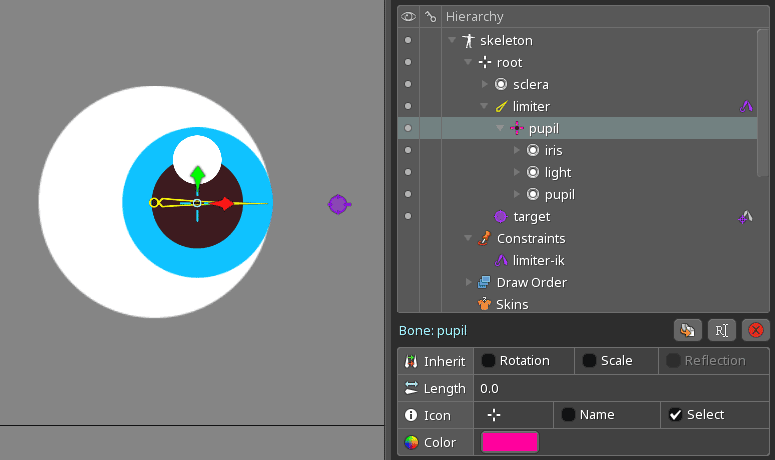
If we move the IK target bone around, the iris and pupil will get distorted. This is due to the parent bone's rotation and scale being applied to the pupil bone. To fix it, we simply disable the rotation and scale inheritance on the pupil bone.
Result

This simple setup lets the pupil and iris follow the target bone nicely, without distortion or going outside the eyeball!
You can download the finished project here.
The setup presented above is a general way to limit movement of elements to a circular area. Can you think of other use cases? Share them on the Spine forum!
